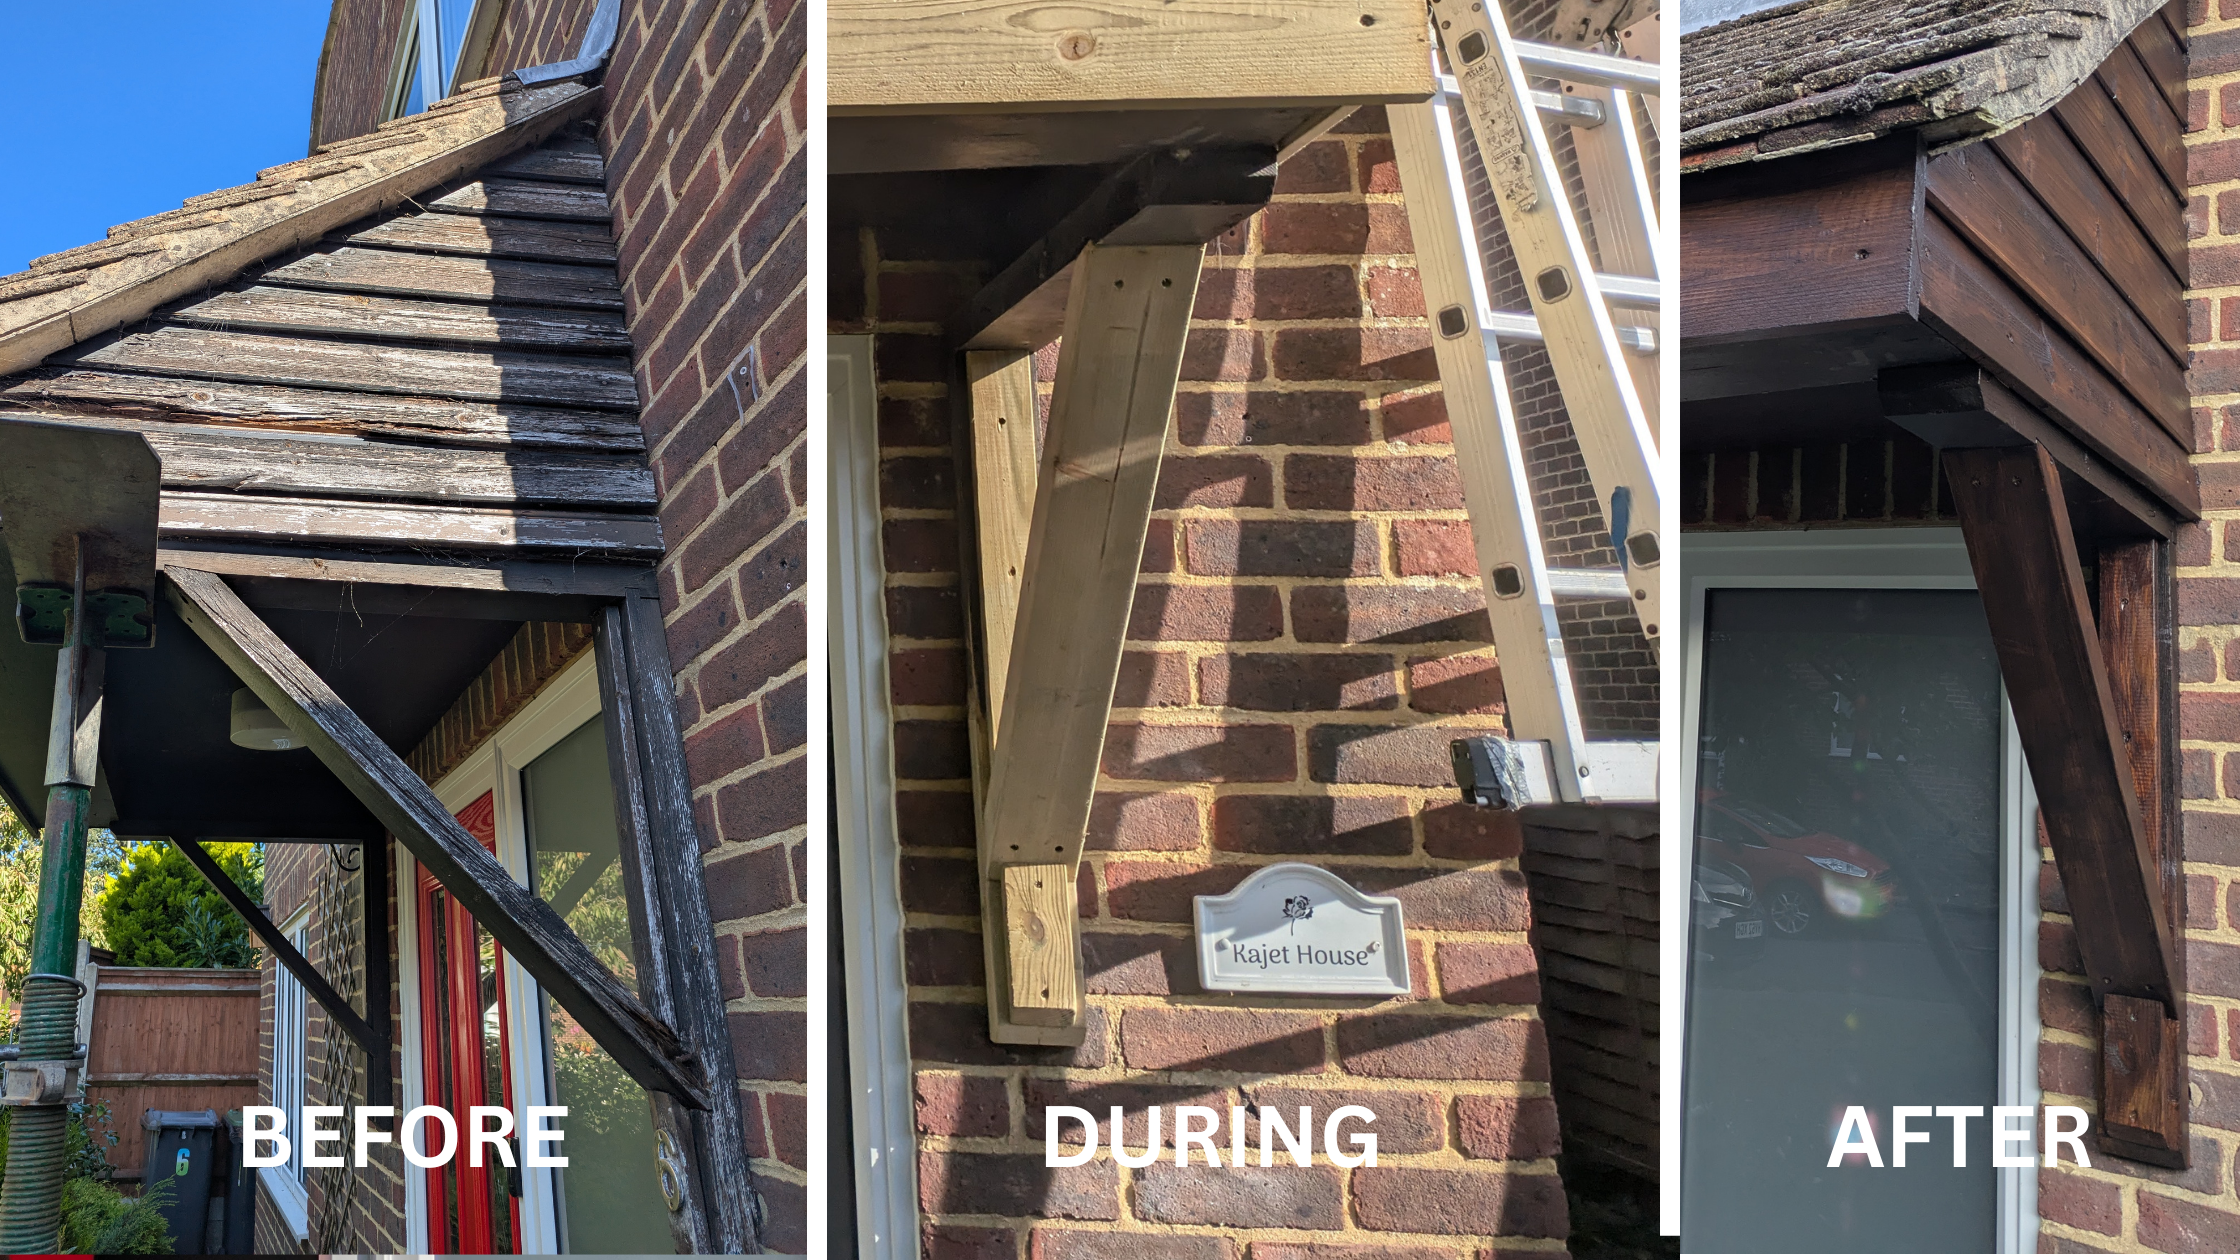
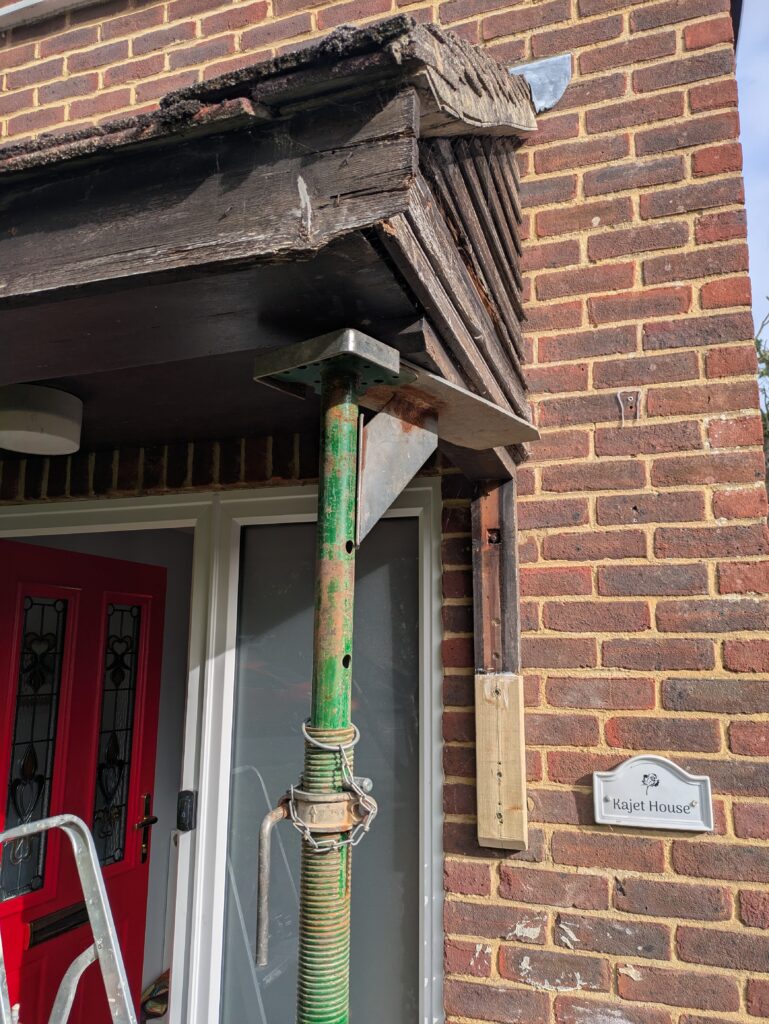
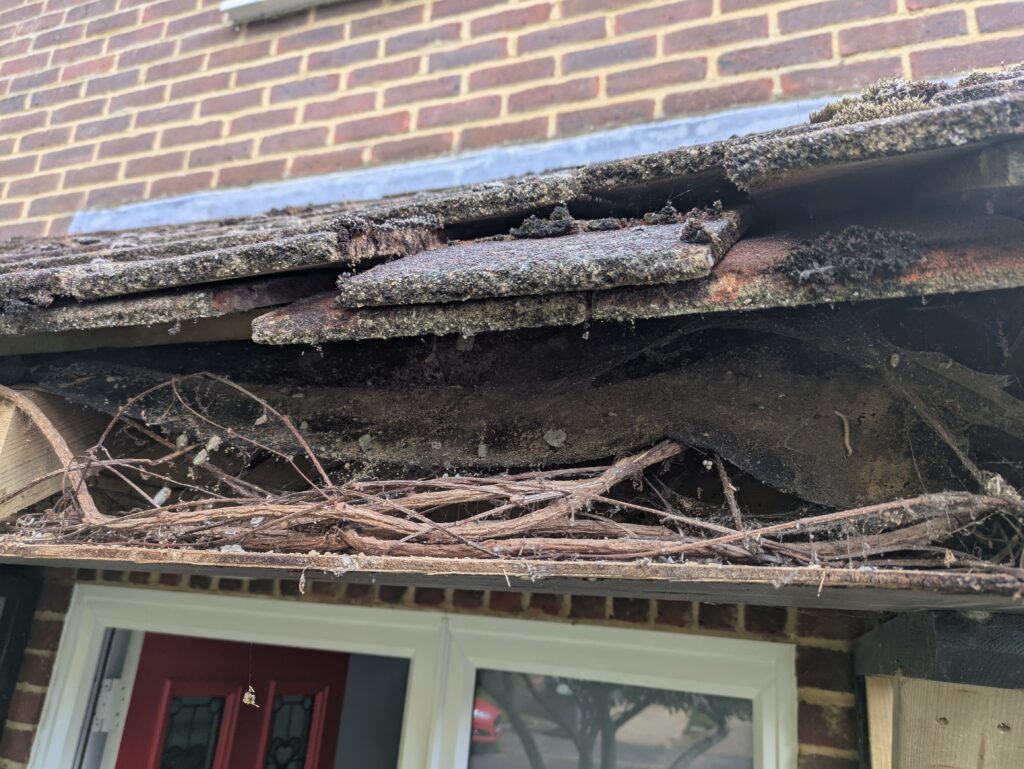
Our customer was worried about the strength of the structural members supporting their tiled porch . Upon inspection of this wooden porch repair it was clear that one of the main supports holding the weight of the heavy roof was almost completely rotten through. It was fortunate that we were called in before any stormy weather. These porches can weigh upwards of 150kg, you wouldn’t want that landing on you!!
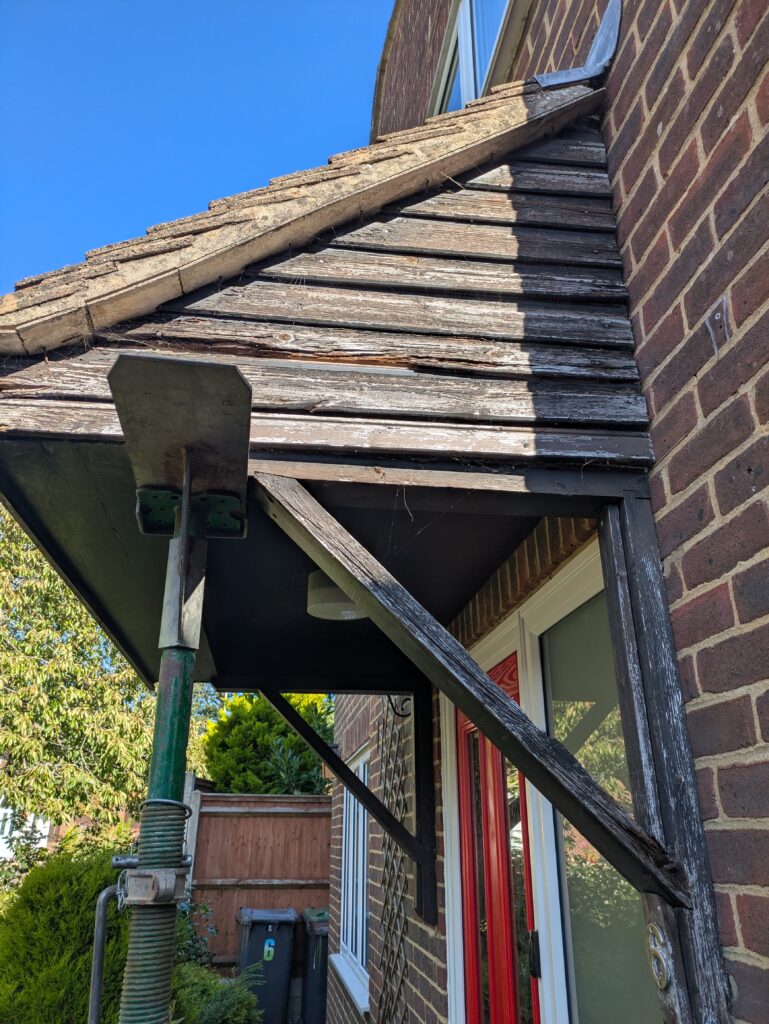
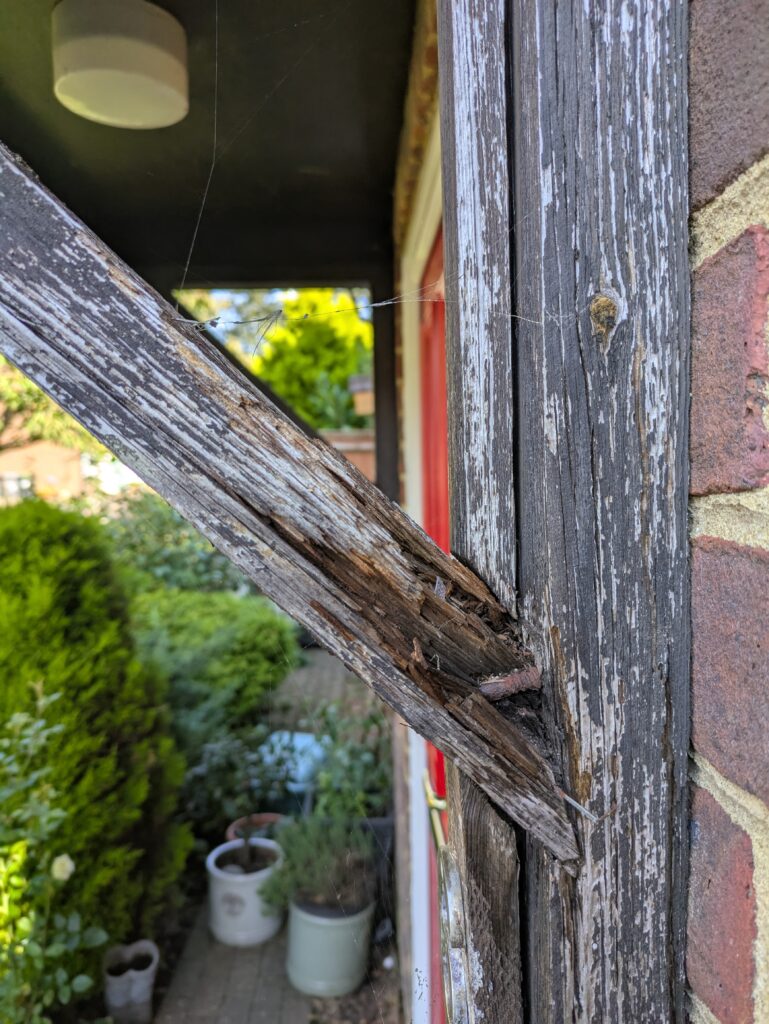
Rotten wooden porch weight bearing timber
Here’s a look at the rotten timber, pitchy all the way through, barely retaining any strength.
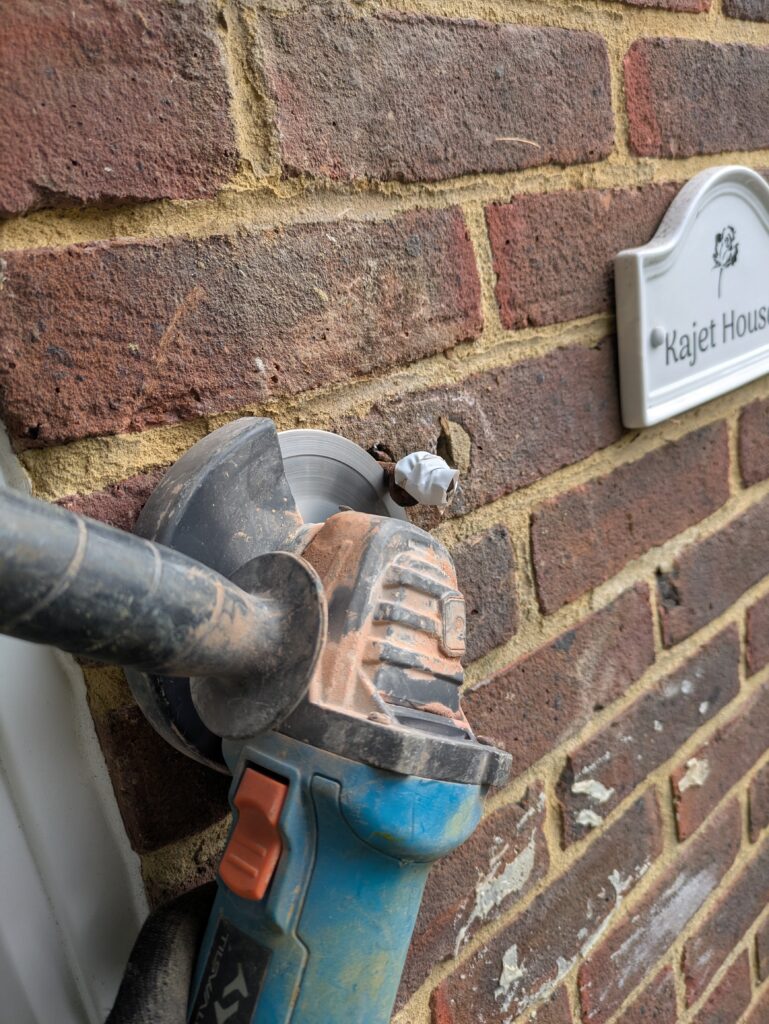
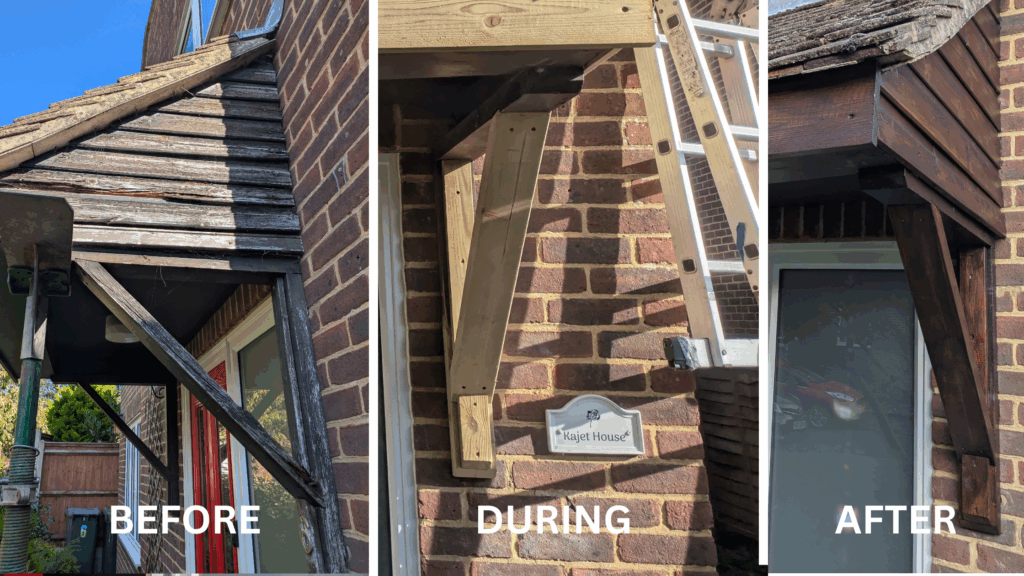
Supporting the wooden porch repair with an acrow and strongboy
The first job here was to support the weight of the porch using an acrow and strongboy before we could remove the rotten member.
Now the fun begins
We deconstruct the supports, starting with the trim, battling rusted flathead screws fitted decades ago and completely rusted masonry bolts.
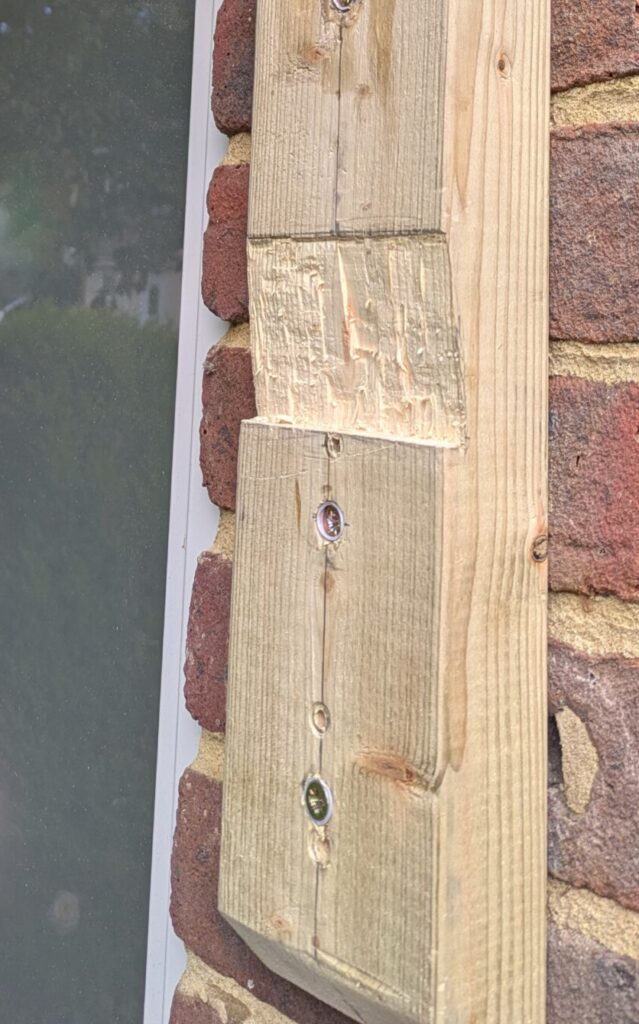
The customer was keen to save as much of the original wood as possible so we removed the rot leaving as much of the original hardwood as we could.
When replacing a timber frame like this it’s important to take your time to ensure the cuts and angles match the opposing side. Nothing worse than an asymmetrical wooden porch repair. Using a variety of tools from a miter saw, circular saw and hand saw it’s possible to get the angles required when cutting the timber and sand paper to smooth the edges is essential.
Strength is an important aspect for this repair, a minimum of 7mm masonry screws if used in multiples, ideally m10-12 if using fewer bolts would be advised.
Weight bearing notched joint
When setting weight bearing timbers it’s best not to reply on the strength of a screw or even glue on it’s own, for this wooden porch repair job we chiseled out a notched joint which ensures the weight bearing beam is nestled within the rest of the frame driving the forces directly into the supporting timber rather than into a screw. The bolts and glue are simply there to keep the notched joint compact and prevent slippage.
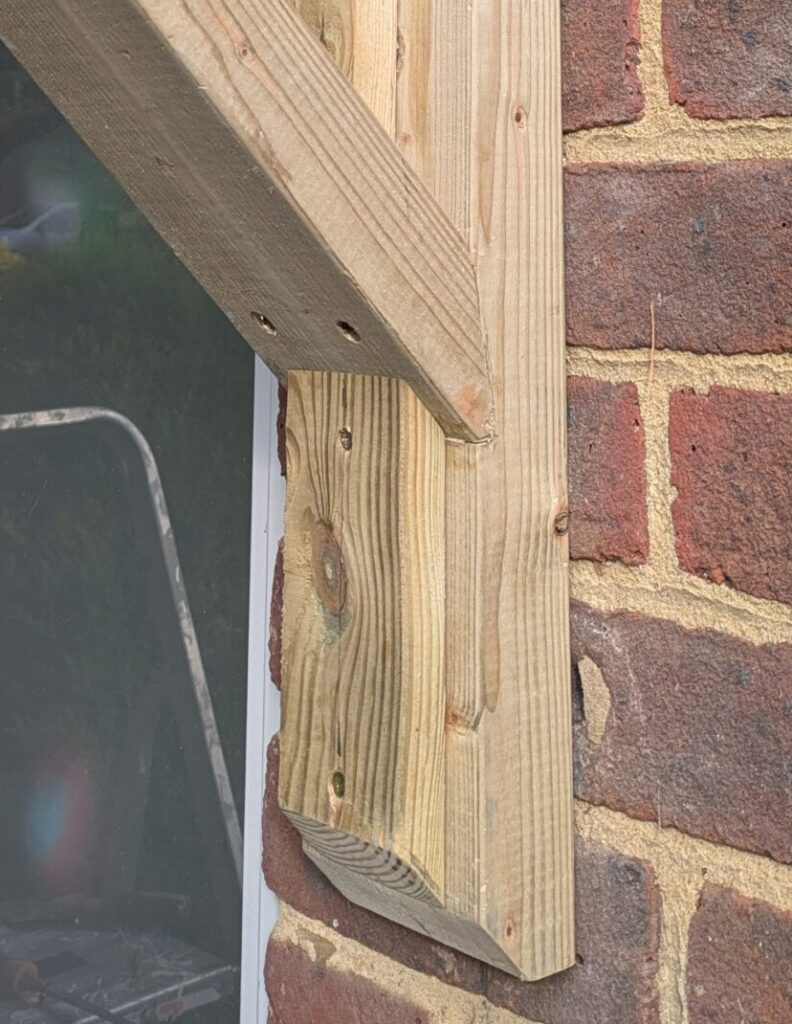
Once the structural weight bearing timbers are in place, we sandwich the timber above and below the notched timber joint which helps with strength and aesthetics.
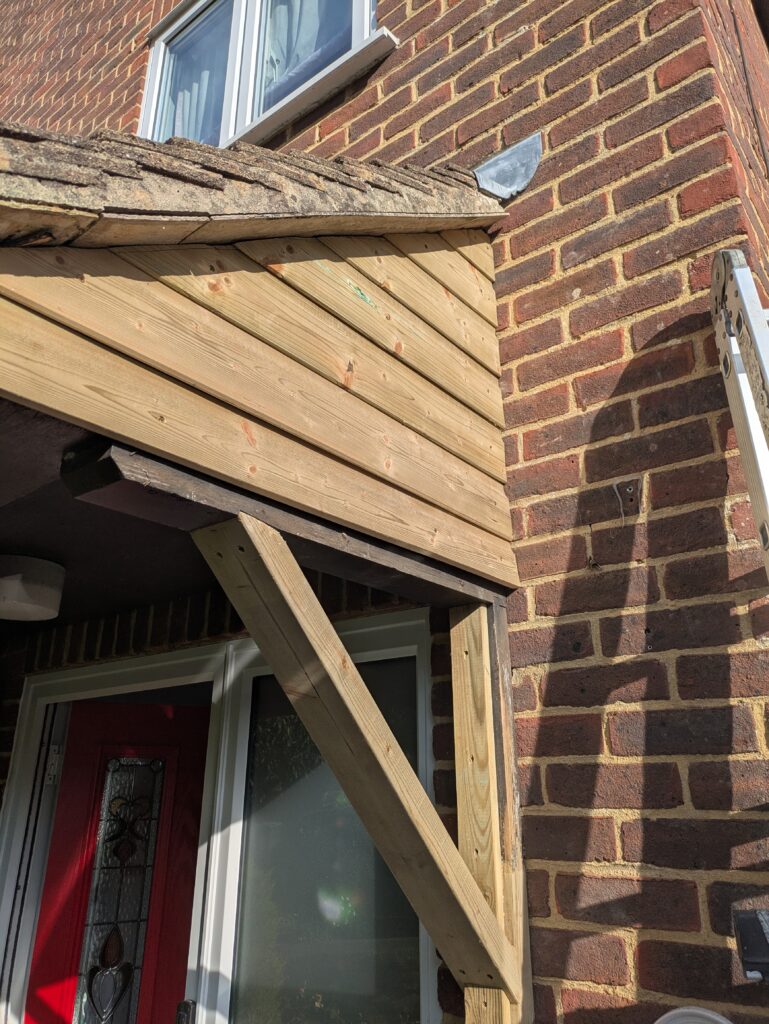
Now the hard part is over, there are two more stages to this job; replacing the shiplap cladding and the front facia.
Wooden shiplap cladding replacement
- Removal of old rotten cladding (nails were used to a hammer and crowbar are typically required)
- Pull out or angle grind old rusted nails
- Replace the moisture barrier (if the customer wants this done)
- Cut and fit the new shiplap, starting at the bottom and if possible hide the fixing under the lip of the board above
This part of the project is very satisfying as you see the aesthetics coming together quite quickly.
In this case, we secured the boards in the center rather than hiding them.
Wooden facia repair
- The wooden facia on this porch was heavily rotten on the ends and unfortunately some of the battens holding up the tiles were rotten. We were able to repair the end batten without having to remove all of the tiles.
- The facia was carefully removed making sure not to dislodge any tiles
- On the underside of the porch is a headboard which seals off the structure from view, this runs along a groove in the facia board. We were unable to find a replacement so had to route a groove along the back of the facia to hold the headboard.
- Once the new board was measured, cut and in place, we secured it to the porch roof battens using heavy duty outdoor timber screws, similar to those used for installing decking.
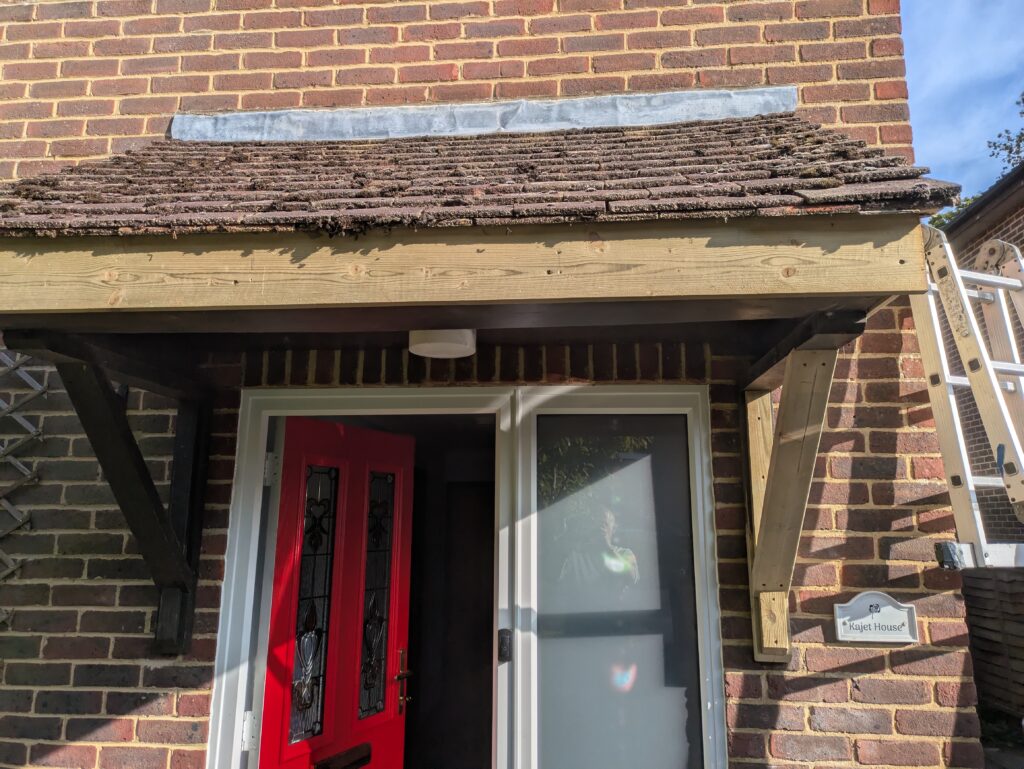
- Looks a million dollars with the new facia and the tile line is much straighter now with better support for the weight
Staining a wooden porch repair
With the bulk of the work out the way, it’s time to tape up the brickwork and get this puppy stained in dark oak to match the rest of the porch. Whilst the approach is similar to house painting, it’s important to take your time using roll and tip or stroke and tip method to avoid smears.
- Get yourself a decent external wood stain
- Tape up the area with masking tape (you can get masonry tape which sticks better to bricks than normal painters tape)
- Rack up your ladder
- Wear gloves
- Shake the tin of stain well before opening, 2 minutes or more
- Ensure the surface is clean and dry
- If applying over existing stain, ensure the surface has been gently sanded
- Pour a small amount of stain into a separate container when climbing ladders else you will end up staining your shoes!!
- Apply the layers thin and quick, avoid going over the same area twice as you’ll get smears
- Stain typically dries quickly, 60m should be touch dry however, it’s best to leave it to dry further before applying a second coat. We’ll be back to the customers house in the near future to give it a second coat.

Very happy with this job, happy customer, strong wooden porch repair, ready to keep you drying at the front door over the rainy winter months.
If you’re looking for a wooden porch repair in the Worthing area then give us a call else check out Checkatrade for trusted suppliers


Leave a Reply