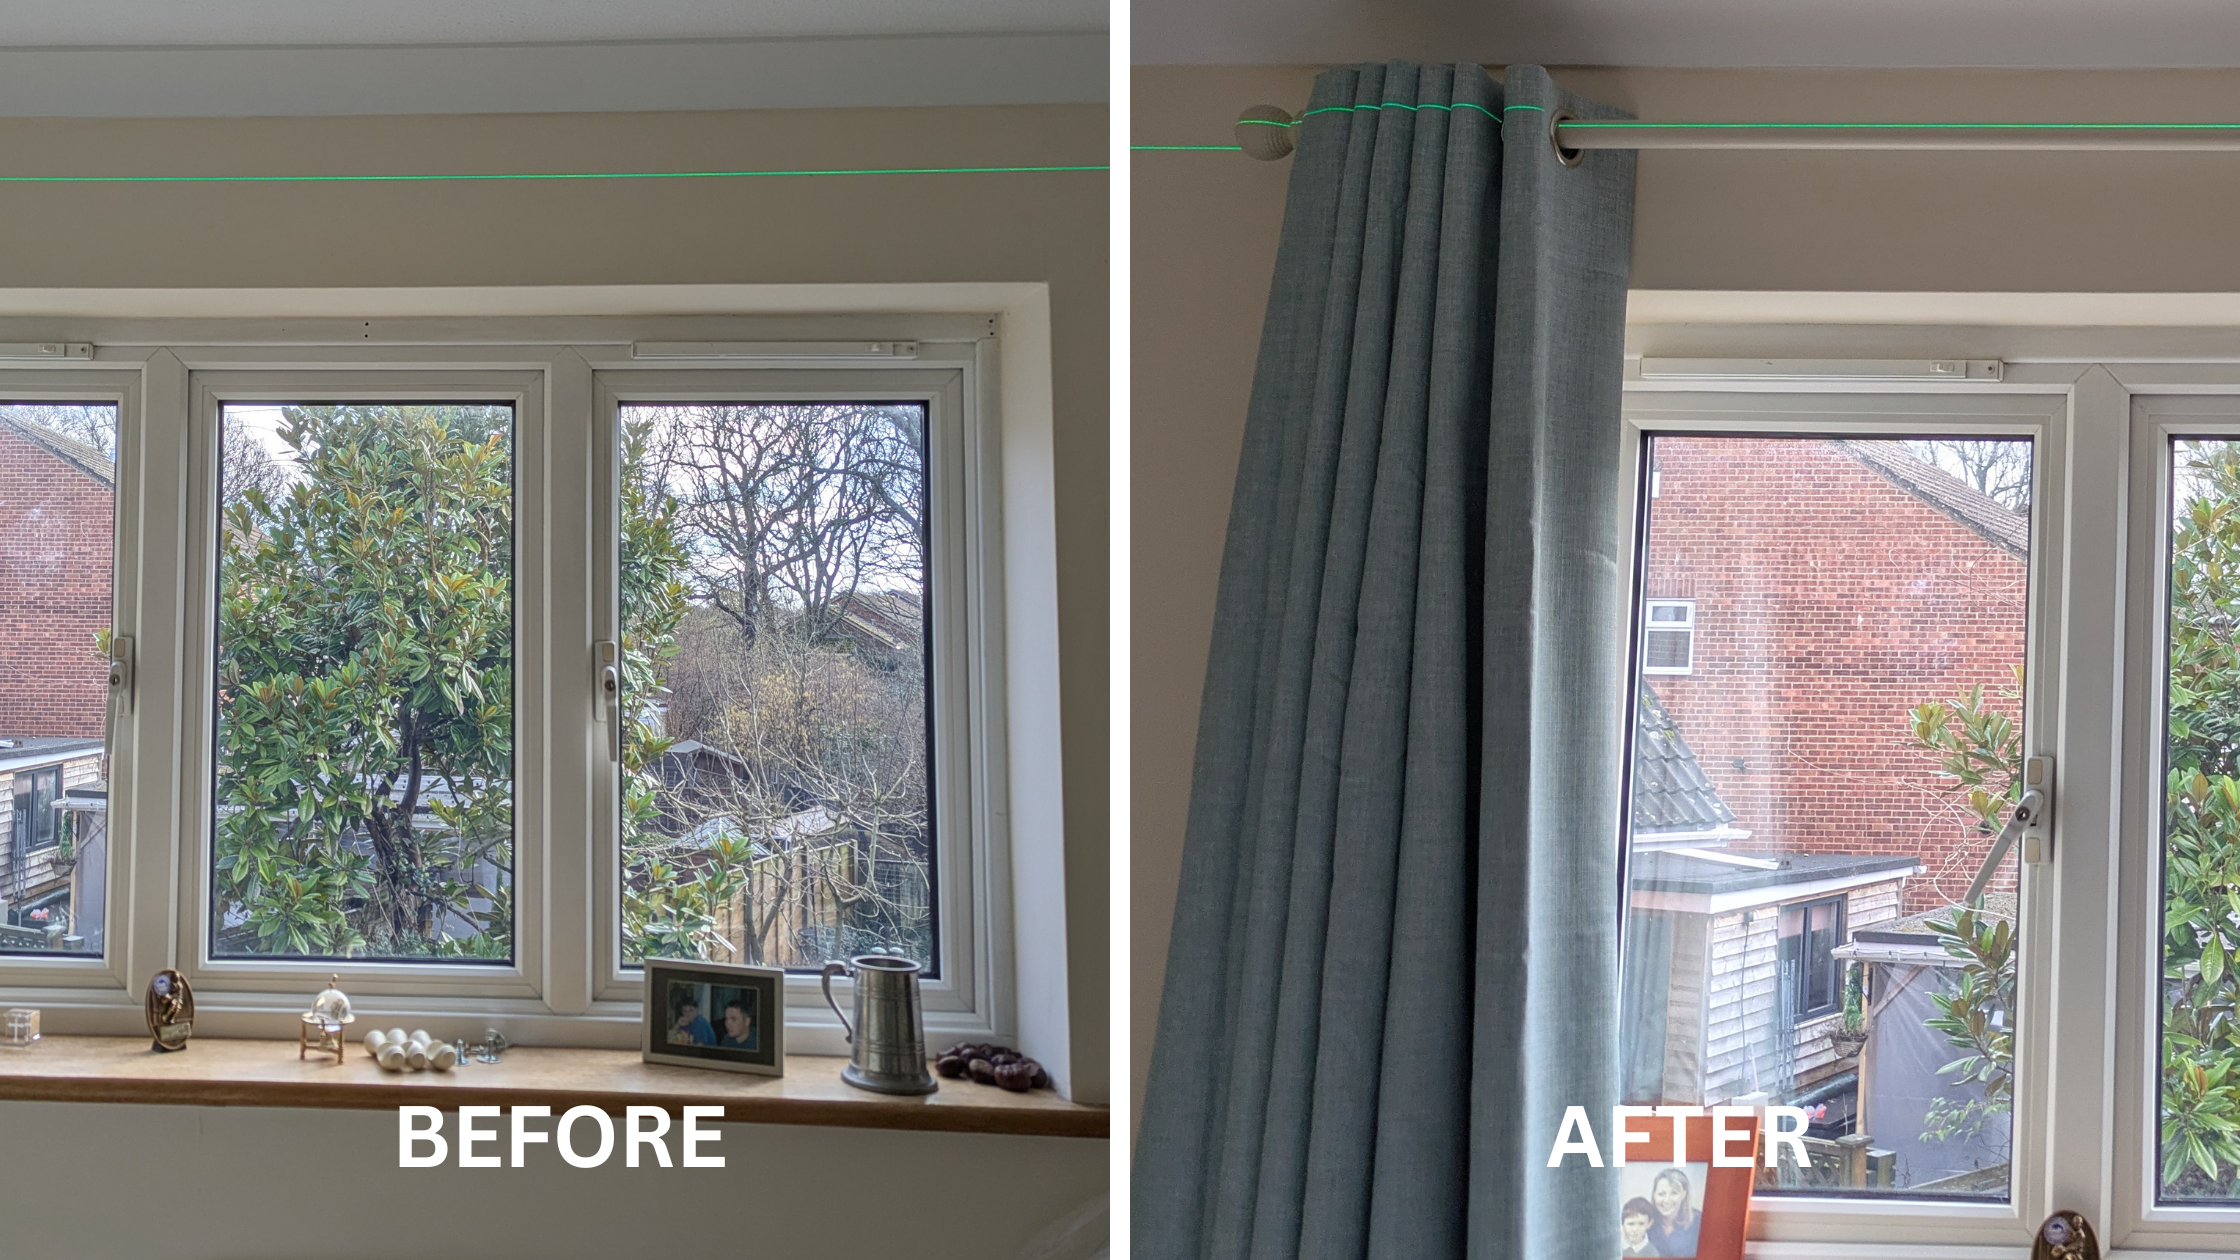
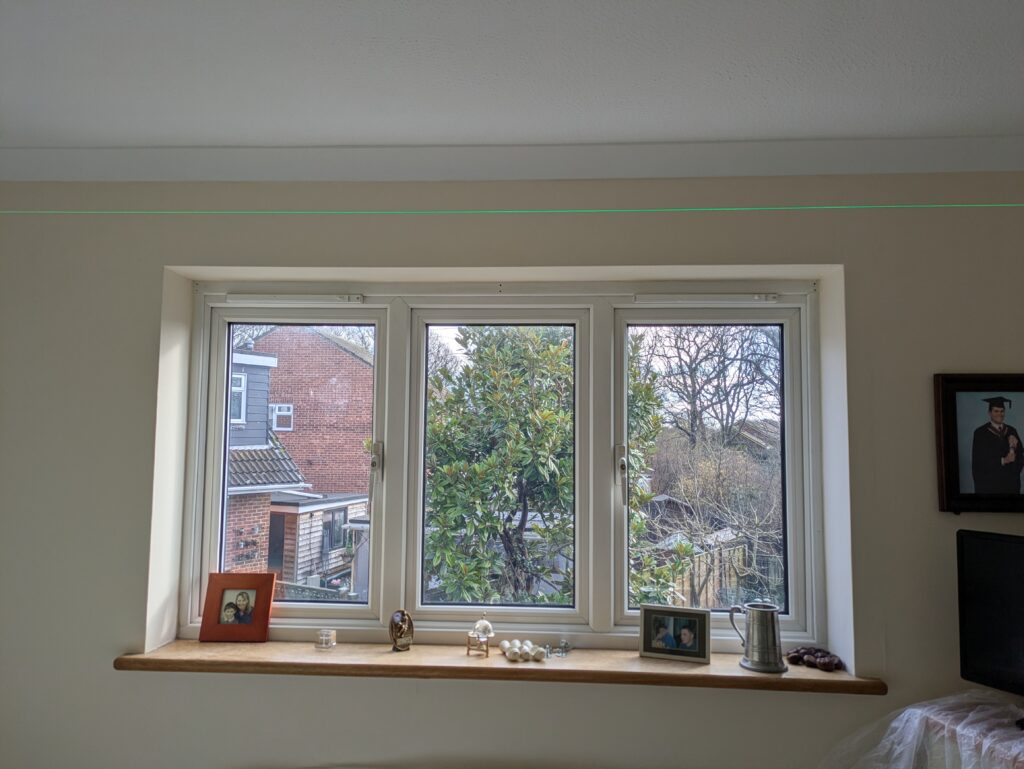
Curtains make all the difference in a freshly decorated room, from a cold uninviting, overlooked room to cosy, relaxing privacy.
Hanging curtain rails is a straightforward job but actually quite difficult to do well. It’s important to take the time to ensure the rail fixings are centered and symmetrical above the window lintel and the rail itself is straight and level.
Typically when a DIY’er installed a curtain rail, they have trouble getting the screws into the lintel above the window. This is usually due to a weak drill or in some cases a heavy steel.
To ensure we get a strong connection for the rail bracket fittings, it’s important to use a powerful SDS drill to tap into the lintel if concrete. If there is plasterboard over a steel, you want to use strong plasterboard or butterfly fixings that are short enough not to hit the steel.
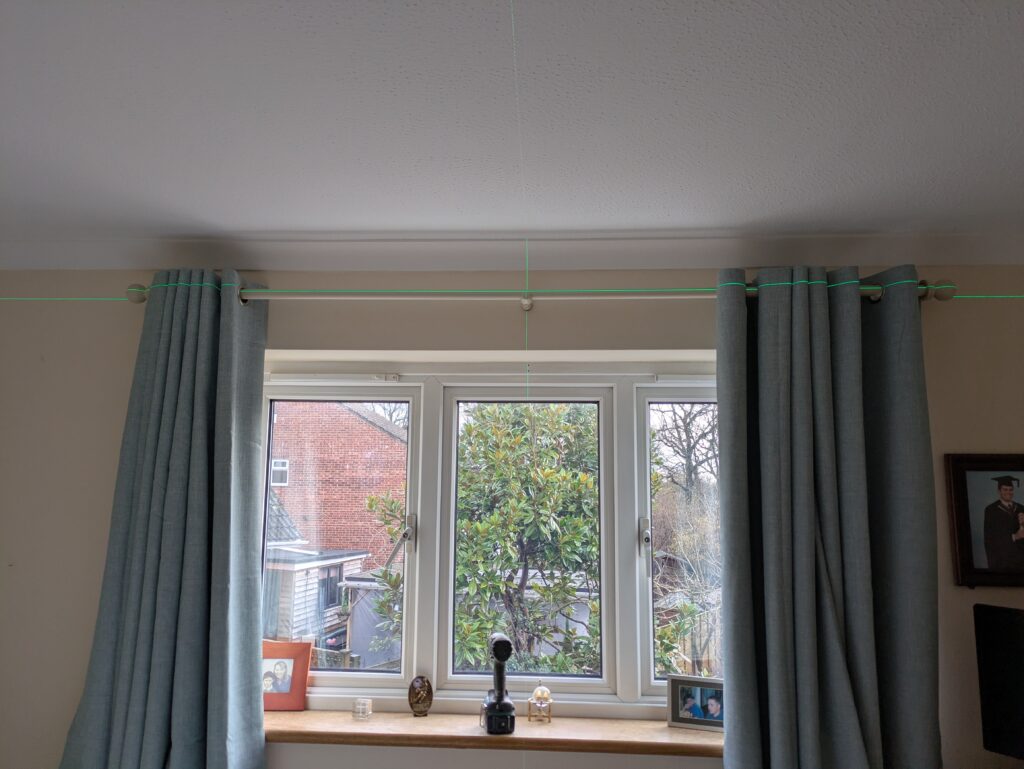
On this job pictured the customer had attempted to fit the rail but had not penetrated the concrete lintel and had used masonry plugs in plasterboard so the rail became looser over time. The caps meant o cover the rail fixing brackets had also not been installed.
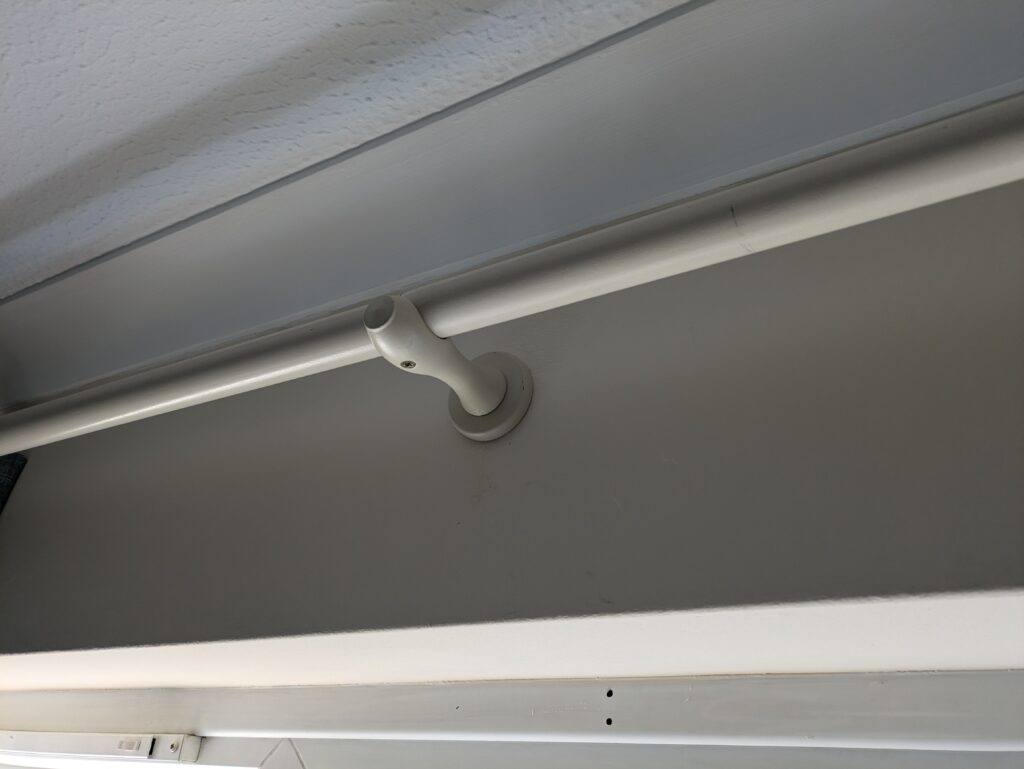
Following decorating the room we re-fitted the rail securely, straight and level an installed a nice new curtain and covered the rail arm fixings with caps.
If you’re looking to hang a curtain rail yourself here’s what you need to do (let’s assume masonry/concrete liintel)
- Step 0: Lay down dust sheets, get a hoover ready and ensure any furniture that doesn’t want to get covered in brick dust is covered or removed from the room.
- Step 1: Measure the curtain rail; make note of full width, half width
- Step 2: Measure the window frame; full width and half width marking the center of the window frame on the top wall above the window using a tiny pencil line
- PRO TIP: You can use a rubber to rub this off the paint at the end. Feel free to steal your kids pencils before hanging a curtain rail whilst they are not looking!
- Step 3: Mark where the ends of the curtain rail will reach above the window frame
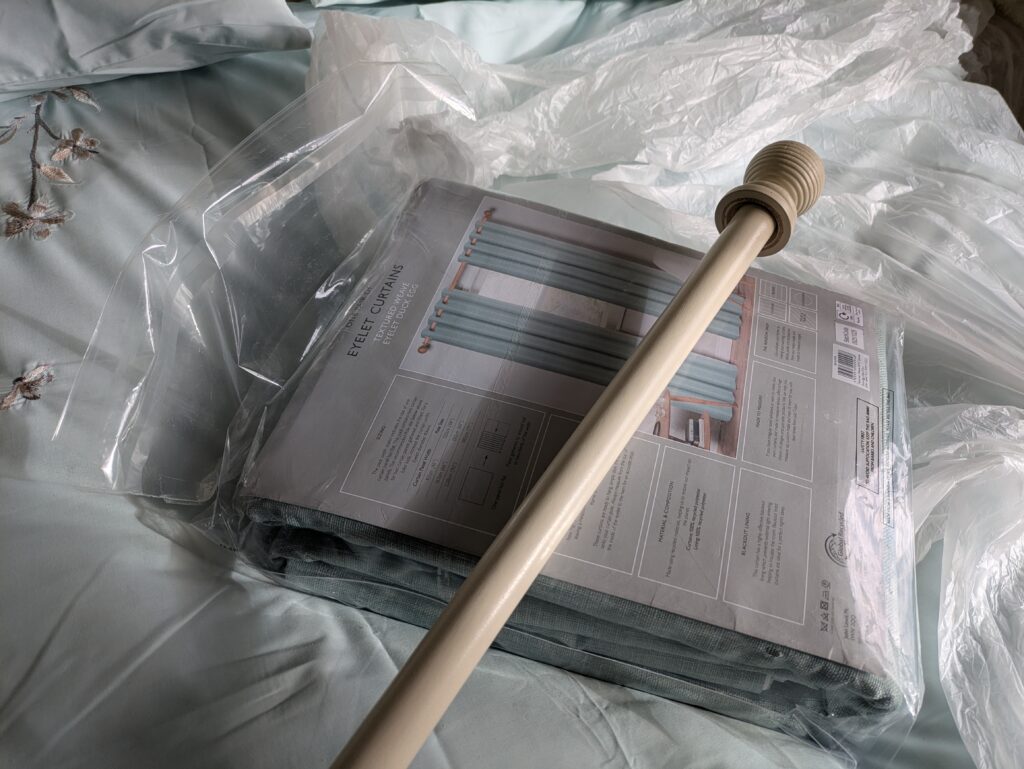
- Step 4: Measure the full length of the curtains when hanging. A new curtain in it’s pack will always have the full hung length of the curtain labelled.
- Step 5: CHECK the length above and below the curtain rail.
- This will differ curtain to curtain.
- The curtain in the example below hangs off rings which sit very high up on the curtain.
- There is 20mm of curtain protruding above the rail meaning we can mount the rail quite high.
- Ensure the curtain doesn’t hang over a radiator or other furniture below the window sill
- Step 6: Once you are sure where you want the rail to hang, mark the wall above the window frame to indicate the desired height of the rail
- Step 7: Levelling! This is arguably the MOST important step of the entire process so take your time. You have a couple of options for doing this, the old school way and the modern (easier) way;
- Old school ~ using a 6ft spirit level mark points along the wall above the window frame at height you want the rail to be mounted, ideally as close to where the mounts will go. This can be tough with only a 6ft level if the window is wide. You will have to make several marks, then move the level.
- It’s totally possible to do a great job with a spirit level if you take your time. We’ve fitting loads of curtain rails using a spirit level.
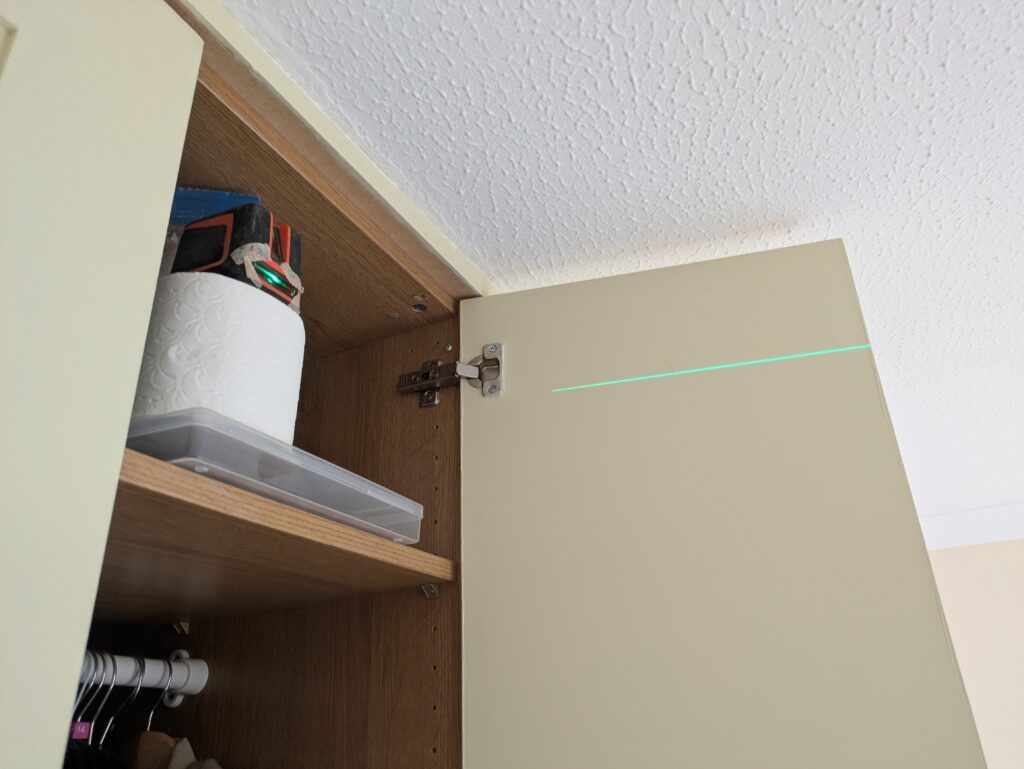
- Modern way ~ This approach feels like cheating. Grab a cheap laser level and either pop it on a book case or furniture opposite the window to the desired height of the rail or use a tripod if you have one or simply screw the laser mount to a 2×4 or other piece of wood.
- We didn’t use a toilet roll in a cupboard to mount our level for this job….honest! Ssshhh
- Mark the desired positions of the rail mounts using a pencil
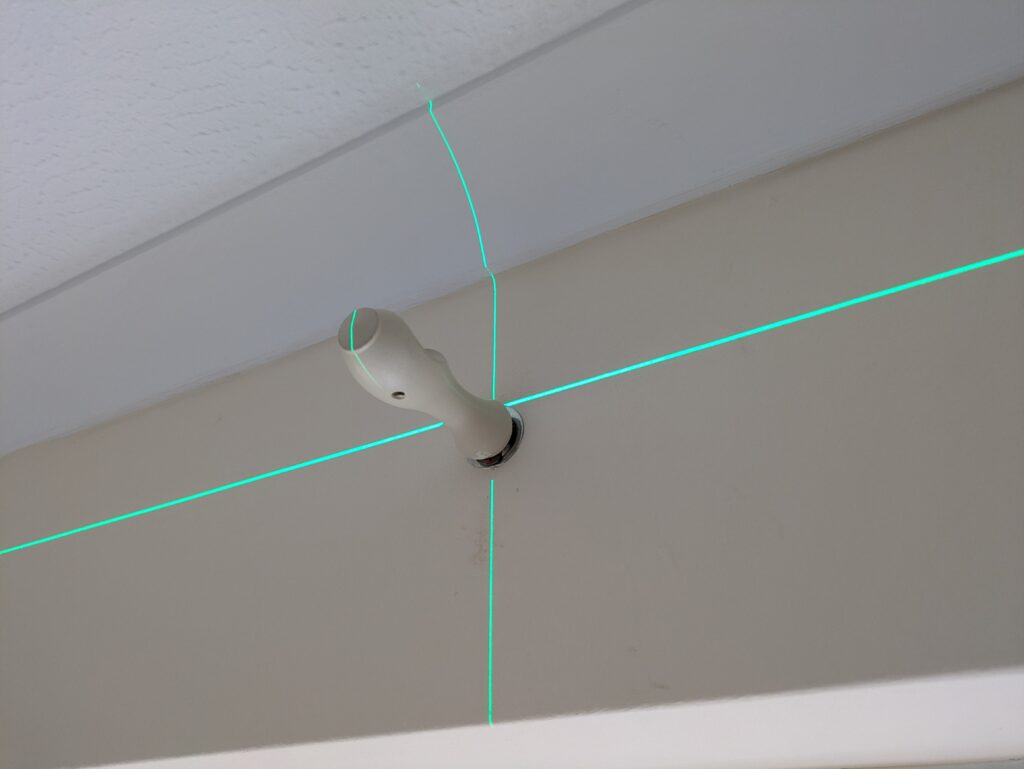
- Using a laser is great as you can not only ensure the rail is level but also centered if your laser does both horizontal and vertical lines.
- Old school ~ using a 6ft spirit level mark points along the wall above the window frame at height you want the rail to be mounted, ideally as close to where the mounts will go. This can be tough with only a 6ft level if the window is wide. You will have to make several marks, then move the level.
- Step 8: Take your curtain rail fixing and mark the places where screws need to be installed, typically this will be 2 screws per rail.
- PRO TIP: Don’t use the screws that came with the curtain rail, they are made of mashed potato. Go buy some cheap multipurpose 4mm or 5mm x 50mm-60mm screws. I used 5x60mm gold screws from Wickes for this job.
- Step 9: Using a powerful SDS drill and the appropriate diameter drill bit you want to carefully drill into the masonry or lintel above the window frame
- Check the plugs, for a 4mm screw the masonry plug is usually 6mm diameter. The plug will have a barely visible ‘mm’ number molded onto it.
- I find it sensible to make a shallow hole using the SDS on rotation mode only, once the pilot hole is started and there is less risk of the drill slipping, you change the drill to both hammer and rotation mode.
- Drill a few mm and then retract the drill. Using this in and out motion will ensure dust doesn’t compact the joint and blow the bricks or make a mess from pressure building up and shooting the dust out.
- Step 10: Insert the plugs until they are flush with the wall surface
- Step 11: When fitting the curtain rail mounts, use an impact driver or powerful drill. You can then screw on the curtain rail mount onto the curtain rail mount backing plate.
- Step 12: CHECK YOUR LEVELS and adjust accordingly.
- Step 13: Lay the curtain rail over the mounting arms or hooks, ensure you leave the ends off the curtain rails so that you can fit the curtains. Do not screw the rails to the mounts at this stage.
- Now feed the curtains over the rails at each end, ensuring one loop of curtain fits the wall side of the far rail mount to ensure that the curtain can’t be pulled all the way across the window.
- Step 14: Once the curtain is loaded onto the curtain rail, screw in the curtain rail end caps and screw (usually from underneath, the curtain rail to the curtain rail mounting arms.
- Step 15: Step back and enjoy your new curtains, CHECK THE LEVELS again and the tidy up. Job done!
Check out our other step by step guides to DIY around the home.


Leave a Reply